We didn’t want too much weight up high, but needed more storage. I really like Peter Masson’s implementation of soft-sided upper cabinets using simple duffel bags, so we copied it.

We didn’t want too much weight up high, but needed more storage. I really like Peter Masson’s implementation of soft-sided upper cabinets using simple duffel bags, so we copied it.

One of our key priorities for the van was more light and more airflow. We liked the awning window idea, and the best option we found for behind the driver was Eurovision windows.

I can’t remember where I saw the recommendation for this front windshield and window cover, but it’s great.

I got the bulk of our insulation completed before New Years, but some insulation and sound deadening dragged on. Today I made a bit of progress on the sliding door and rear wheel wells.

I’ve ordered a toilet and a window for behind the driver, but haven’t decided how to lay out the rest of the van yet. CAD to the rescue!

I’m so accustomed to the lack of rain here in California that I didn’t bother to check the forecast earlier in the week before taking the van to work. I had only half-completed the roof vent install, leaving the final waterproofing. One torrential downpour later I discovered that the waterproofing was needed!

I’m starting to look at how to wire a “house” battery system into the alternator for charging while driving, and I was hoping to add a fuse to the high-current fuse block, but like some others in the thread with 2017 vans, all my connections are full.

Once we were happy with the bed frame, a platform and mattress were the next step.

Cutting a 14” square hole in your new van to install a vent and fan has been covered extensively on various forums, Antoine and Isabelle’s FarOutRide Transit blog, and elsewhere, but I’ll write up my version anyway.

Back when I thought I would have access to an adequate machine shop with my TechShop membership, I decided to build bed and cabinets from 80-20 T-strut extrusions. I’ve never used aluminum extrusions before - most of my experience is with wood, so this would let me learn something new.

Looking on Promaster Forum and asking around, I didn’t see anyone using the Weather Guard roof rails, so I decided to order a pair for my 159” high roof.

Thanks to a great suggestion from proeddie, I added an RV handle from eBay at the slider entrance. Overall it’s working well, but I decided to use M8 rivnuts, since I have lots of them.

This is a temporary floor, so I’m using cheap 1⁄4” maple plywood, mainly to see how well it stands up. We decided to paint it with remaindered house paint, again since it’s temporary.

Between track saw and jigsaw, I’ve cut the 1⁄4” maple ply to fit, and test fit in the van. A good Thanksgiving project. I’m quite pleased with the tracksaw, although the Makita instructions are pretty brief and limited. I’m not convinced I’m getting the precision that it’s capable of, but it’s good enough for this project.

Rather than deciding on a final floor for the van, I decided on some cheap 1⁄4” Maple plywood from Lowes and remaindered paint. That will let me build a template floor and test it out before deciding on a final floor.

My plan for the floor is to build something completely removable. Many people will glue down their floor to ensure it’s secure, but I’ve decided to anchor the floor only at the 8 lashing points. Simple and easy to change out later if needed.

After reading many forum posts on insulation, I’ve settled on a hybrid approach. I’ve got 50 ft of SM600L Thinsulate for the walls and ceiling, and am using polyiso for the floor.

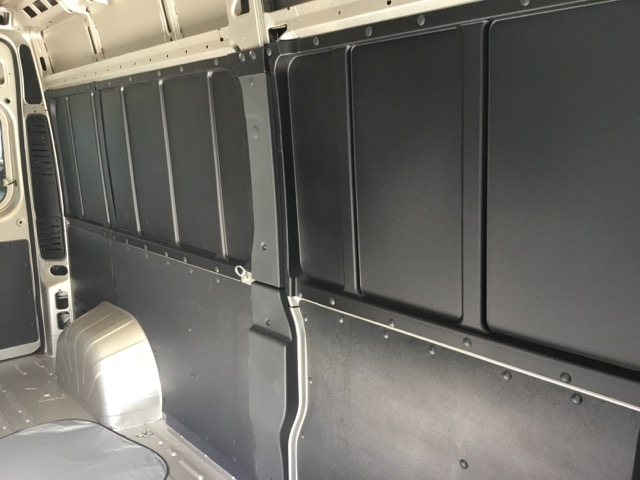
Now that we have our van, the process of conversion seems pretty overwhelming. It feels like a huge cavern, filled with options and possibilities. I’ve been reading and researching for a couple of years now, so now everything gets real.

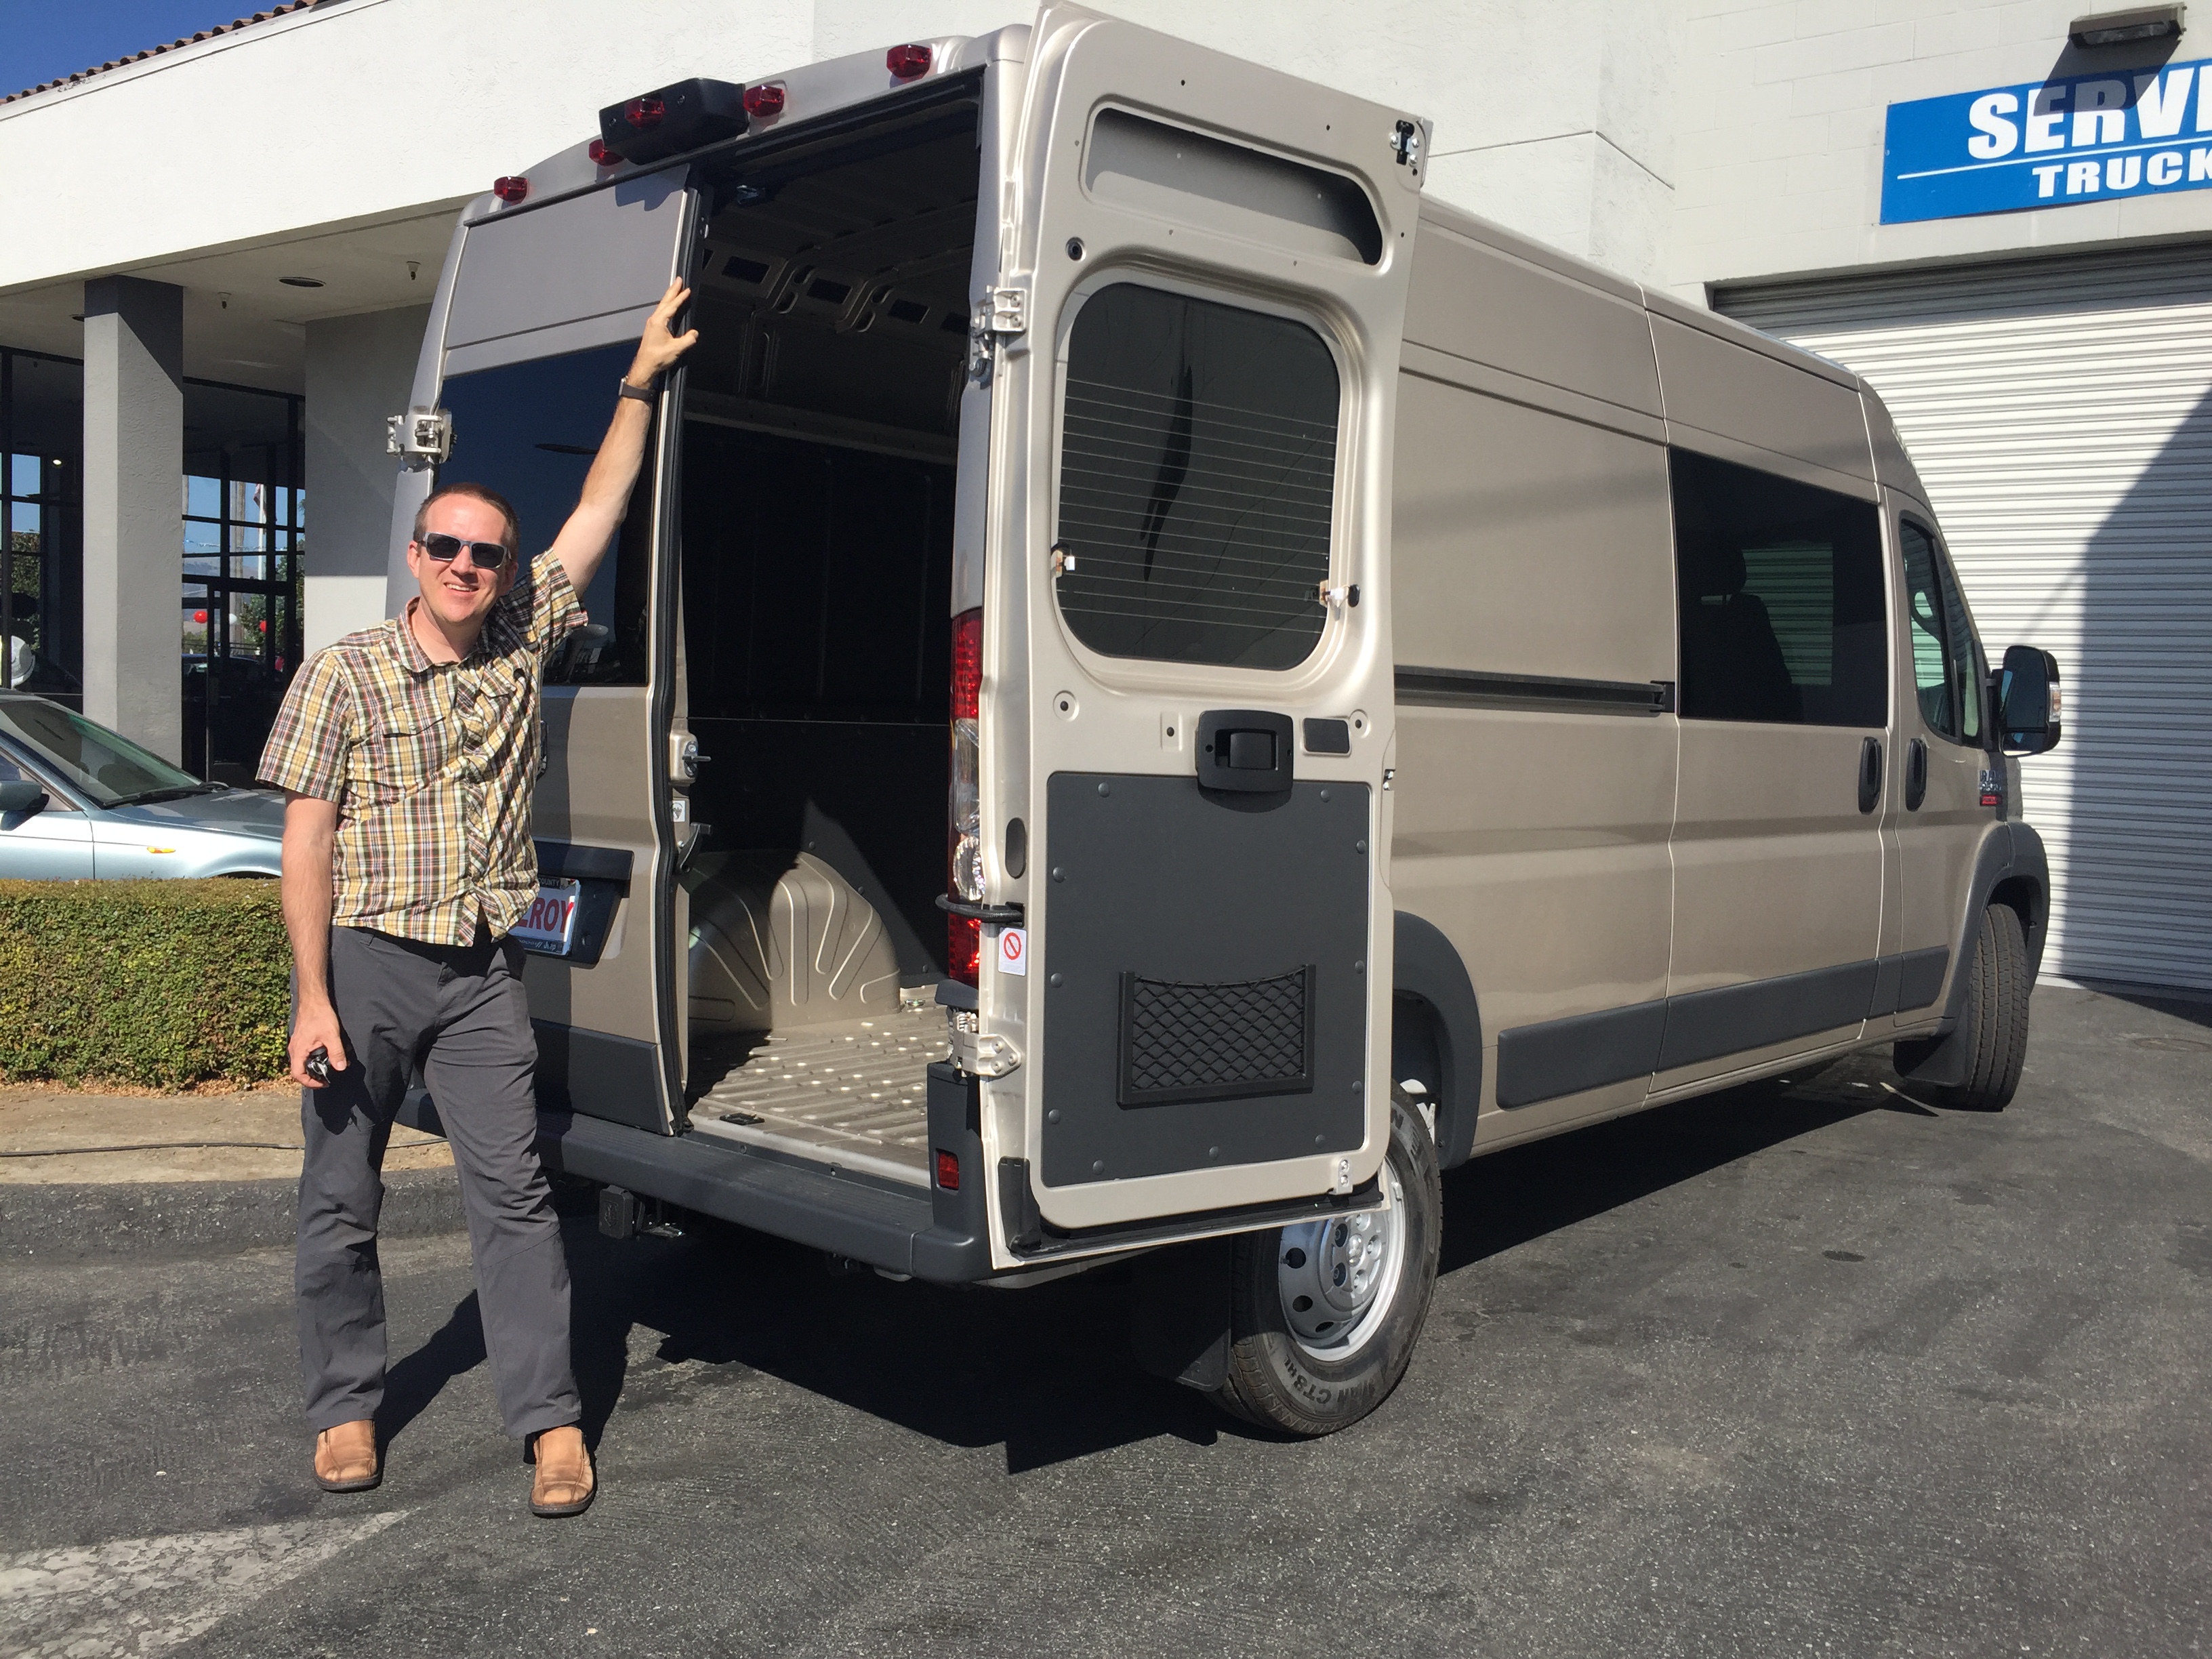
After 14 weeks of waiting, our van finally arrived at the dealer. Longer than we had hoped, but it’s here, and in one piece. 31 miles on the odometer is pretty new. We took it for a test drive and got mildly spooked by the acrid burning smell coming from the engine compartment.

